Deploy MySQL instance on Amazon EKS cluster
The purpose of this tutorial is a walk-through of the steps involved in deploying and managing a highly available MySQL database on Amazon EKS.
Prerequisites
Before you get started, you’ll need to have these things:
- Terraform > 0.13.x
- kubectl installed on the compute that hosts terraform
- An AWS account with the IAM permissions
- AWS CLI : the AWS CLI Documentation
- AWS IAM Authenticator : the AWS IAM Authenticator Documentation
- EKS cluster running
- A default storage class
- MySQL client
Initial setup
For the creation of the EKS cluster, see the previous post:Create Amazon EKS cluster using Terraform
Clone the repository and install the dependencies:
$ git clone https://github.com/colussim/terraform-aks-aws.git
$ cd terraform-aks-aws/mysql
$ terraform init
Usage
Create a MS SQL Server instance:
$ terraform apply \
 -var="name=mysql-deployment-student1" \
 -var="namespace=student1" \
 -var="pvc=pvc-sql-data01" \
 -var="mysql_pvc_size=50Gi" \
 -var="mysql_storage_class=gp2" \
 -var="mysql_image_url=mysql" \
 -var="mysql_image_tag=8.0.25" \
 -var="adminpassword=Bench123"
If you use the terraform apply command without parameters the default values will be those defined in the variables.tf file.
This will do the following :
- create a namespace
- create of the secret object for the password sa for the MS SQL Server instance
- the password is base64 encoded, in this example the password is : Bench123
- create a PVC : Persistant Volume Claim
- create a deployment object for MySQL Server : create a MySQL Server instance
- create a service object for MySQL Server instance:
Tear down the whole Terraform plan with :
$ terraform destroy -forceResources can be destroyed using the terraform destroy command, which is similar to terraform apply but it behaves as if all of the resources have been removed from the configuration.
Remote control
Check if your MySQL instance works:
$ kubectl get pods -n student1

NAME                                        READY   STATUS    RESTARTS   AGE
mysql-deployment-student1-6bf9d4c965-tngnl   1/1     Running   0          5m
$
To access the MySQL Server Instance :
$ MYSQLPOD=`kubectl -n student1 get pods -l app=mysql | grep Running | grep 1/1 | awk '{print $1}'`
$ kubectl -n student1 exec -it $MYSQLPOD -- mysql -u root -pBench123 -e 'select @@version'

+-----------+
| @@version |
+-----------+
| 8.0.25    |
+-----------+
$
Now that we are inside the shell, we can populate create a sample database and table.
Step1 : get a sample database
 $ wget http://techlabnews.com/dbtest/test_db-master.zip
 $ unzip test_db-master.zip
 $
Step2 : copy The Employees database files in POD :
$ kubectl -n student1 cp test_db-master student1/$MYSQLPOD:/home
$
Verified that the files are copied correctly :
$ kubectl -n student1 exec -it $MYSQLPOD -- ls /home/test_db-master
Changelog                      load_dept_emp.dump      objects.sql
README.md                      load_dept_manager.dump  sakila
employees.sql                  load_employees.dump     show_elapsed.sql
employees_partitioned.sql      load_salaries1.dump     sql_test.sh
employees_partitioned_5.1.sql  load_salaries2.dump     test_employees_md5.sql
images                         load_salaries3.dump     test_employees_sha.sql
load_departments.dump          load_titles.dump        test_versions.sh
$
Step3 : run the SQL scripts for creating the employee data base and loading the data
$ cd test_db-master
$ kubectl -n student1 exec -it $MYSQLPOD -- mysql -u root -pBench123 < employees.sql
INFO
CREATING DATABASE STRUCTURE
INFO
storage engine: InnoDB
INFO
LOADING departments
INFO
LOADING employees
INFO
LOADING dept_emp
INFO
LOADING dept_manager
INFO
LOADING titles
INFO
LOADING salaries
data_load_time_diff
00:00:52
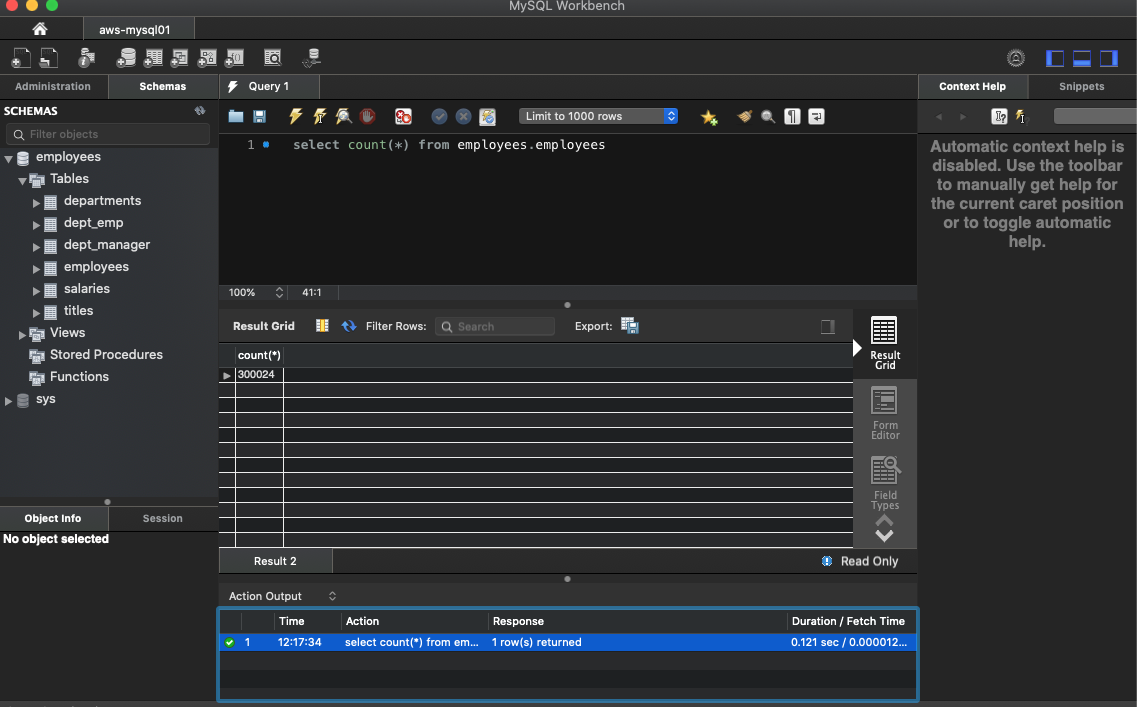
$Let’s run a few queries on the table.
$ kubectl -n student1 exec -it $MYSQLPOD -- mysql -u root -pBench123 employees -e "select count(*) from employees"
+----------+
| count(*) |
+----------+
|   300024 |
+----------+
$
if you have installed an AWS Load Balancer Controller and assigned the MySQL service you can connect to your instance directly using the external IP address.
More information on this link for the installation of a AWS Load Balancer Controller.
Get the external IP address :
$ kubectl get svc -n student1
NAME TYPE CLUSTER-IP EXTERNAL-IP PORT(S)
mysql-deployment-student1-service LoadBalancer 172.20.119.5 aa6ba6af1452d4e2194d3eff8e2836f1-899797895.us-east-1.elb.amazonaws.com 3306:30182/TCP
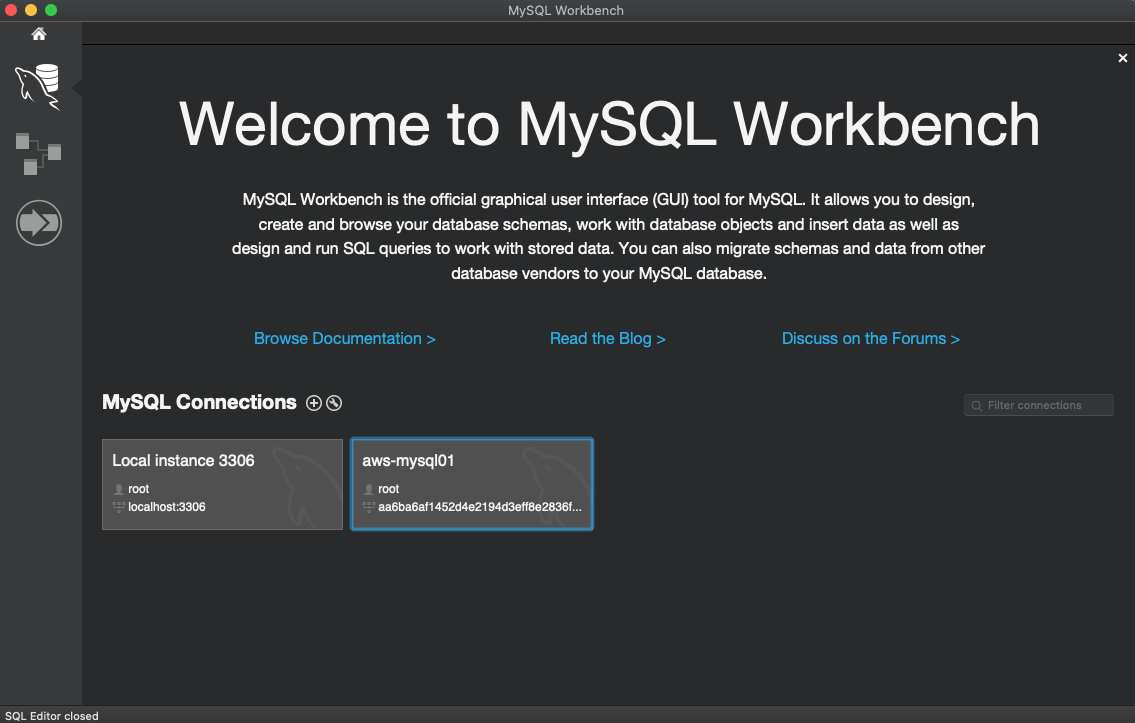
$The external IP address is :
aa6ba6af1452d4e2194d3eff8e2836f1-899797895.us-east-1.elb.amazonaws.com
You can access the MySQL Server instance with your favorite tool like MySQLWorkbench :
Conclusion
MySQL can easily be deployed on Amazon EKS to run stateful workloads in production. Terraform makes it easy to manage Kubernetes clusters and Kubernetes resources effectively. It gives organizations the opportunity to work with infrastructure-as-code, management of platforms, and also the opportunity to create modules for self-service infrastructure. Terraform Kubernetes provider gives organizations all the required tools necessary to manage Kubernetes clusters in the environment.
Resources :
 Terraform Documentation
 A sample database with an integrated test suite, used to test your applications and database servers
 AWS IAM Authenticator for Kubernetes
 AWS CLI